How to Design Your Own Custom Circuit Kit Projects
There’s a special kind of satisfaction that comes from designing your own custom circuit projects. It’s like leveling up from following instructions to creating something that’s truly your own. Whether you’re a hobbyist, an educator looking to inspire students, or a parent helping your child learn electronics, designing custom projects is a rewarding way to apply your skills creatively.
If you’ve ever wondered how to get started, you’re in the right place! In this post, I’ll guide you through the steps of designing your own custom circuit kit projects. We’ll cover everything from brainstorming ideas to building and testing your creations. Along the way, I’ll share personal anecdotes and practical tips to make the process approachable and fun.
Why Create Custom Circuit Projects?
Custom projects let you go beyond the limits of pre-packaged kits. They give you the freedom to:
- Solve specific problems or fulfill unique needs.
- Explore your creativity by turning ideas into reality.
- Challenge yourself and deepen your understanding of electronics.
For example, I once designed a simple circuit to help my forgetful roommate remember to turn off the bathroom light. It used a motion sensor and a timer to automatically turn the light off after 15 minutes. Not only did it save energy, but it also became a fun conversation starter when guests visited!
Step 1: Brainstorm Ideas
The first step is to figure out what you want to build. Think about your interests, daily problems you’d like to solve, or just fun ideas you’d like to explore.
Here are some idea starters:
- A nightlight that turns on when it’s dark.
- A mini weather station with temperature and humidity readings.
- A clap-activated switch for lights or small appliances.
- A sound meter that displays noise levels on an LED bar.
Pro Tip: Start small. Focus on a single function for your first custom project, then build on that as you gain confidence.
Step 2: Sketch Your Circuit Design
Once you’ve chosen an idea, it’s time to plan your circuit. Start with a simple sketch, showing the components and how they’ll connect.
Tools to Help You:
- Pen and Paper: Sometimes, old-school sketching is the fastest way to get started.
- Online Circuit Simulators: Tools like Tinkercad, Fritzing, or EasyEDA let you create digital circuit diagrams and even test them virtually.
Example: When designing my bathroom light timer, I started by sketching a basic layout with a motion sensor, a timer module, and a relay to control the light. I made several adjustments before finalizing the design.
Step 3: Gather the Right Components
With your design in hand, list the components you’ll need. This might include:
- Resistors, capacitors, and diodes.
- Sensors (e.g., motion, temperature, or light).
- Microcontrollers like Arduino or Raspberry Pi.
- Wires, breadboards, and a power source.
Pro Tip: Always order a few extra components. Small parts like resistors have a way of disappearing mid-project!
Step 4: Build a Prototype
Start assembling your circuit on a breadboard. This temporary setup lets you test and tweak your design before committing to a permanent build.
Steps to Follow:
- Place components on the breadboard according to your circuit diagram.
- Use jumper wires to connect the components.
- Test the circuit at each stage to ensure it works as expected.
Anecdote: I remember my first prototype for a sound-activated LED display. It didn’t work at all! After hours of troubleshooting, I realized I’d swapped two wires on the microphone module. Fixing it taught me the value of double-checking connections before powering up.
Step 5: Troubleshoot and Refine
No circuit works perfectly on the first try—mistakes are part of the learning process. Here’s how to troubleshoot effectively:
- Check Connections: Use a multimeter to test for continuity and ensure wires are properly connected.
- Verify Component Placement: Double-check the orientation of polarized components like diodes, capacitors, and LEDs.
- Test in Sections: Break the circuit into smaller parts and test each one individually.
Pro Tip: Keep a log of what you’ve tested and the results. This will help you spot patterns and narrow down the issue.
Step 6: Create a Permanent Build
Once your prototype works reliably, it’s time to make it permanent. This involves soldering the components onto a PCB (Printed Circuit Board) or using a more durable setup.
Tools You’ll Need:
- Soldering iron and solder.
- Wire cutters and strippers.
- Heat shrink tubing or electrical tape for insulation.
Tips for a Clean Build:
- Use a small amount of solder to avoid messy joints.
- Label connections to make future troubleshooting easier.
- Enclose your circuit in a case or housing to protect it.
Step 7: Add Personal Touches
Now comes the fun part—customizing your project! Whether it’s adding extra features, designing a cool enclosure, or programming unique behavior, this step makes your project truly your own.
Examples:
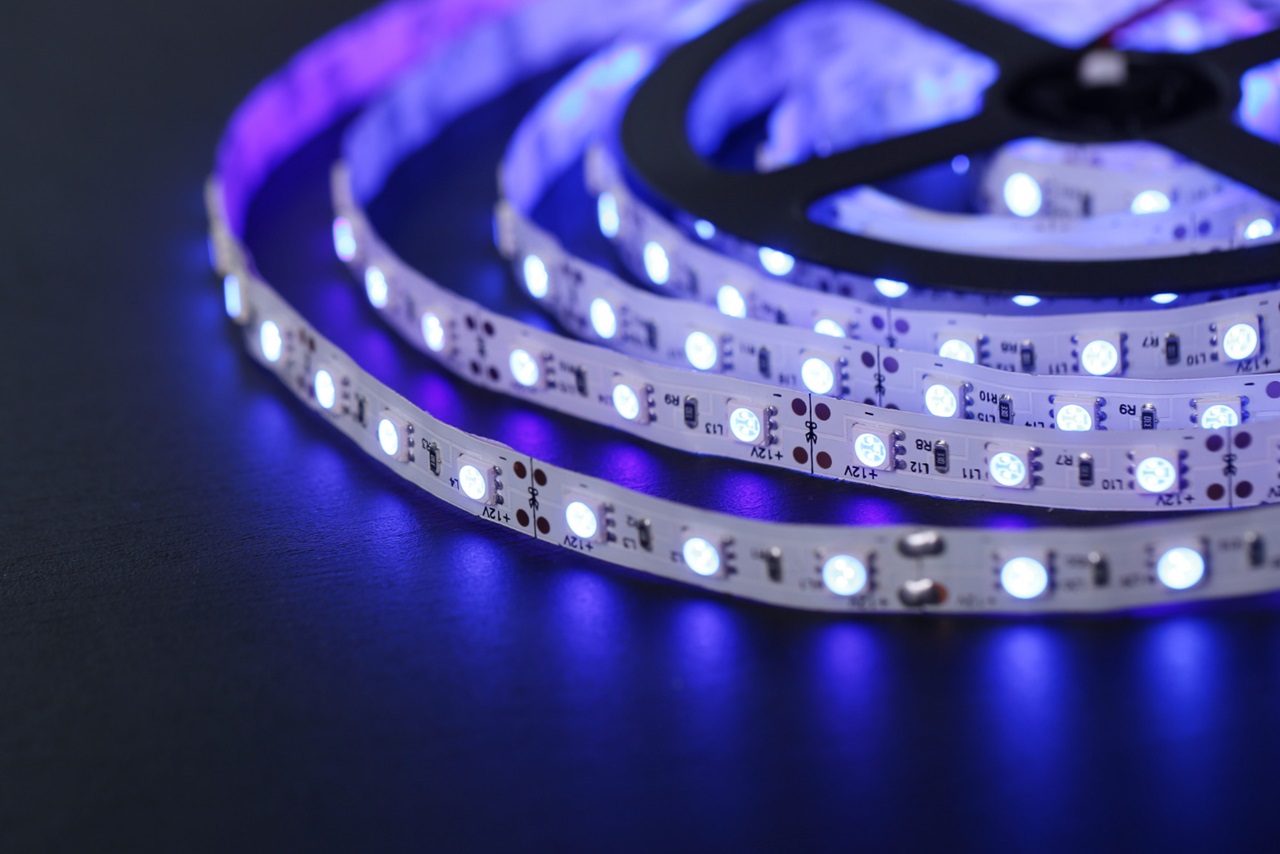
- Use RGB LEDs to add color effects.
- Program a melody to play on a buzzer when the circuit is activated.
- Paint or 3D-print a case to match your room decor.
When I finished my motion-activated light timer, I added an LED indicator to show when the timer was active. It was a small detail, but it made the project feel polished and professional.
Step 8: Share Your Creation
Once your custom project is complete, share it with others! Post it on social media, contribute to online maker forums, or teach friends and family how to build their own versions.
Sharing not only inspires others but also helps you gain feedback and new ideas for future projects.
Real-Life Example: A Personalized Desk Organizer
One of my favorite custom projects was a desk organizer with built-in electronics. It included:
- A USB charger for my gadgets.
- A small LED light for late-night work.
- A temperature and humidity display for my workspace.
The project took a weekend to design and build, and it’s now a permanent fixture on my desk. It’s a constant reminder of how far I’ve come in my electronics journey.
Final Thoughts
Designing your own custom circuit projects is one of the most rewarding aspects of working with electronics. It’s a chance to combine creativity, problem-solving, and technical skills into something uniquely yours.
Start small, embrace mistakes, and don’t be afraid to experiment. Each project you complete builds your confidence and opens the door to even more ambitious ideas. So grab your tools, let your imagination run wild, and start designing!
Happy tinkering!


Post Comment