Exploring Arduino: Adding Smart Features to Your DIY Projects
In the world of DIY electronics, few tools are as versatile and beginner-friendly as Arduino. This little microcontroller has revolutionized how we approach projects, transforming simple ideas into smart, automated systems. Whether you’re new to tinkering or looking to take your projects to the next level, Arduino opens the door to endless possibilities.
In this post, we’ll dive into what Arduino is, explore its capabilities, and share some practical ways to add smart features to your DIY creations.
What is Arduino?
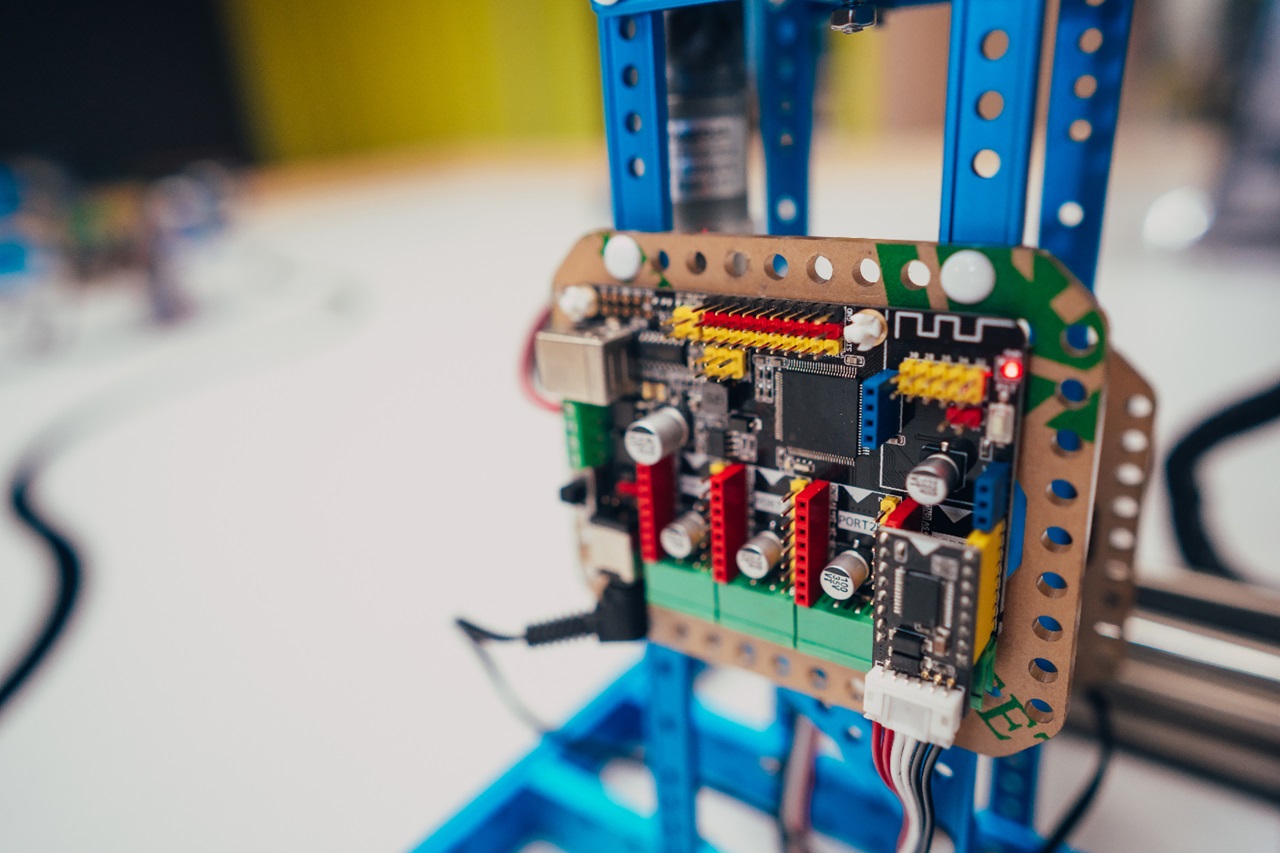
At its core, Arduino is an open-source electronics platform that combines hardware and software. It includes a microcontroller (a small computer on a chip) and an integrated development environment (IDE) for writing and uploading code.
Arduino boards are incredibly versatile, allowing you to control LEDs, motors, sensors, and more. The best part? You don’t need to be an electrical engineer or a coding expert to get started.
When I first discovered Arduino, I was skeptical. Could a tiny board really help me automate my projects? But after a few hours of tinkering, I built a temperature-sensing fan controller—and I was hooked.
Why Use Arduino for Smart Features?
Arduino makes adding intelligence to your projects surprisingly easy. Here’s why it’s so popular:
- User-Friendly: The IDE and community resources make learning Arduino accessible to beginners.
- Versatility: From home automation to robotics, Arduino can handle a wide variety of tasks.
- Affordable: Basic boards like the Arduino Uno cost less than a nice dinner.
- Extensive Ecosystem: A wide range of shields (add-ons) and sensors make it simple to customize.
Getting Started with Arduino
1. Choose the Right Arduino Board
The Arduino Uno is a great starting point for beginners. For more advanced projects, consider the Arduino Nano (compact size) or Arduino Mega (more input/output pins).
2. Gather the Basics
Here’s what you need to get started:
- An Arduino board
- USB cable
- A breadboard
- Jumper wires
- Basic components (e.g., LEDs, resistors, sensors)
3. Install the Arduino IDE
Download the Arduino IDE from the official website, install it, and connect your board to your computer via USB.
Adding Smart Features to Your DIY Projects
Now, let’s look at some exciting ways to incorporate Arduino into your creations.
1. Automating Lights with a Motion Sensor
The Idea: Create a motion-activated light system for your room or workspace.
What You’ll Need:
- Arduino Uno
- PIR motion sensor
- LED
- Resistor (220 ohms)
- Jumper wires
How It Works:
The PIR sensor detects motion and sends a signal to the Arduino. The Arduino then turns on the LED for a specified time.
Code Example:
int ledPin = 13;
int pirPin = 2;
void setup() {
  pinMode(ledPin, OUTPUT);
  pinMode(pirPin, INPUT);
}
void loop() {
  if (digitalRead(pirPin) == HIGH) {
    digitalWrite(ledPin, HIGH);
    delay(5000); // Light stays on for 5 seconds
    digitalWrite(ledPin, LOW);
  }
}
Anecdote: I built a motion-activated light for my hallway. It was a hit with my cat, who seemed to think the light was following him around.
2. Building a Smart Plant Watering System
The Idea: Monitor soil moisture and water your plants automatically.
What You’ll Need:
- Arduino Nano
- Soil moisture sensor
- Relay module
- Water pump
- Jumper wires and tubing
How It Works:
The soil moisture sensor measures the dryness of the soil. If it’s too dry, the Arduino activates the relay, turning on the water pump.
Real-Life Application:
This system saved my peace lily from withering during a vacation. It was satisfying to return home to a thriving plant instead of a shriveled disaster.
3. Creating a Temperature-Controlled Fan
The Idea: Build a fan that turns on when it gets too hot and turns off when it cools down.
What You’ll Need:
- Arduino Uno
- DHT11 temperature and humidity sensor
- DC fan
- Transistor or relay module
How It Works:
The DHT11 sensor reads the temperature and sends the data to the Arduino. Based on your code, the Arduino switches the fan on or off.
Code Example:
#include <DHT.h>
#define DHTPIN 2
#define DHTTYPE DHT11
DHT dht(DHTPIN, DHTTYPE);

int fanPin = 3;
void setup() {
  pinMode(fanPin, OUTPUT);
  dht.begin();
}
void loop() {
  float temp = dht.readTemperature();
  if (temp > 25) { // Turn fan on above 25°C
    digitalWrite(fanPin, HIGH);
  } else {
    digitalWrite(fanPin, LOW);
  }
}
Personal Note: I installed this system in my workshop, and it’s been a game-changer during summer projects.
4. Smart Home Alarm System
The Idea: Create an alarm system that triggers when a door is opened.
What You’ll Need:
- Arduino Uno
- Magnetic reed switch
- Buzzer or LED
How It Works:
When the magnetic contact is broken (door opens), the Arduino triggers the alarm.
5. Adding IoT Features with Wi-Fi
The Idea: Control devices remotely using your smartphone or computer.
What You’ll Need:
- Arduino Nano 33 IoT or an ESP8266 module
- Wi-Fi network
How It Works:
The Arduino connects to your Wi-Fi network, allowing you to control appliances, lights, or other devices from anywhere.
Real-Life Application:
I used this setup to control my desk lamp from my phone. It’s a small thing, but it made my workspace feel like something out of a sci-fi movie.
Tips for Arduino Success
- Start Simple: Begin with basic projects to build confidence and understanding.
- Use Online Resources: The Arduino community is massive, with countless tutorials, forums, and libraries.
- Experiment Freely: Tweak the code, swap components, and add your own ideas to personalize your projects.
- Be Patient: Debugging is part of the process. Take your time to troubleshoot and learn.
Final Thoughts
Arduino isn’t just a tool—it’s a gateway to creativity and innovation. With a little practice, you can add smart features to almost any DIY project, whether it’s automating your home, creating a custom gadget, or just having fun experimenting.
The possibilities are endless, and the skills you gain will open doors to even bigger projects in the future. So grab an Arduino board, unleash your creativity, and see where it takes you.
Happy tinkering!


Post Comment