Creating Music with Electronics: Build Your Own Synthesizer
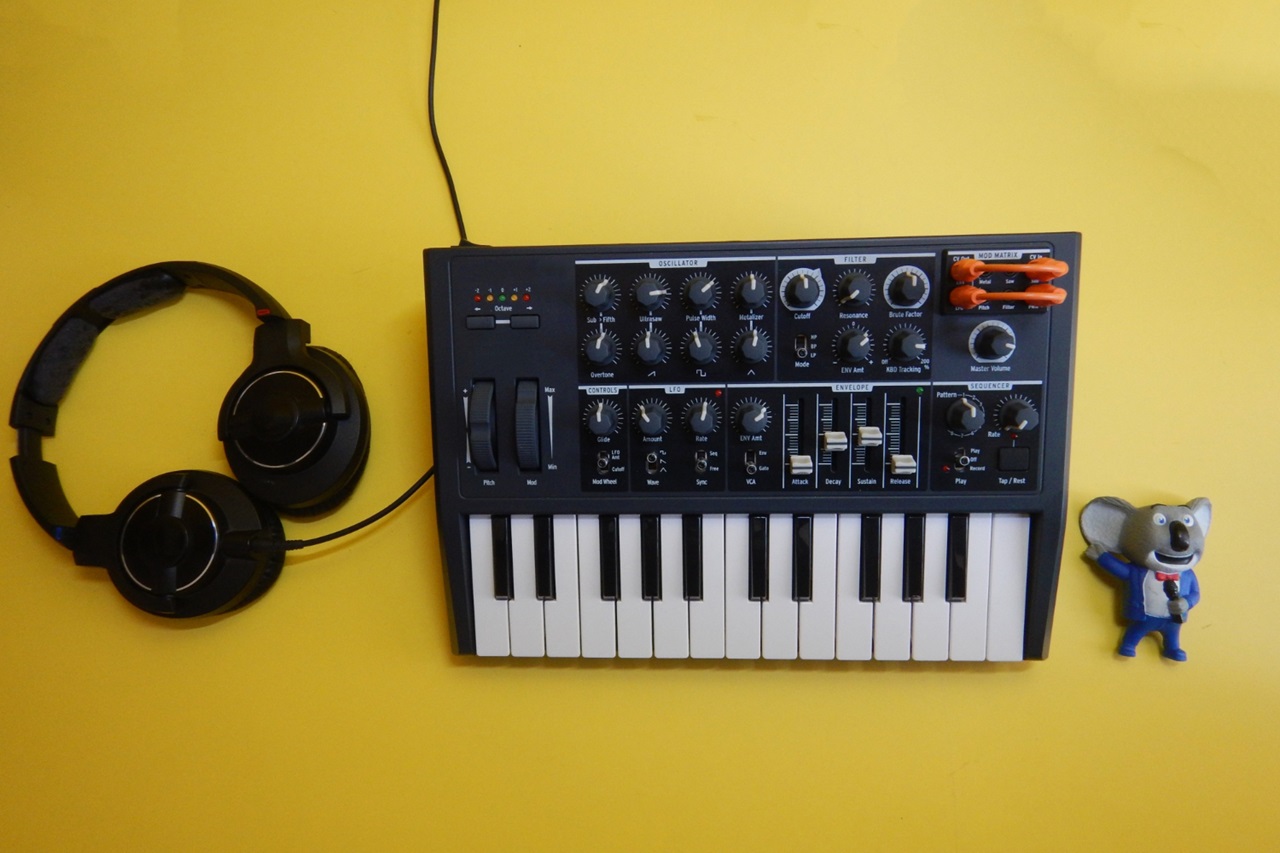
Have you ever wondered how electronic music is made? From the pulsating beats of EDM to the ethereal tones of ambient music, much of it is crafted using synthesizers. These fascinating instruments generate and manipulate sound electronically, opening up a world of creativity for musicians and tinkerers alike.
But here’s the exciting part: you don’t need to shell out thousands of dollars for a fancy synthesizer. With some basic electronics knowledge and a DIY mindset, you can build your own! In this guide, we’ll take a step-by-step journey into creating a simple synthesizer, exploring the science, components, and joy of making music with your hands.
Why Build Your Own Synthesizer?
Building a synthesizer is more than just a cool project—it’s a gateway to understanding sound synthesis, circuitry, and creativity. It’s also incredibly satisfying to create an instrument that produces unique sounds tailored to your preferences.
When I built my first synthesizer, it wasn’t perfect—it had a quirky hum, and I accidentally wired the oscillator backward at first. But when I finally got it working and heard the first tones I created, I felt like I had unlocked a new realm of creativity.
What You’ll Need to Get Started
Building a synthesizer requires some basic components and tools. Most parts are affordable and readily available online or at local electronics stores.
Components:
- 555 Timer IC: The heart of your synthesizer; it generates the oscillating signals.
- Resistors and Capacitors: These shape and control the sound.
- Potentiometers: Adjustable resistors for tweaking pitch, volume, and other parameters.
- Speakers or Headphones: To output the sound.
- Breadboard: For prototyping your circuit.
- Jumper Wires: To connect components.
- Power Supply: A 9V battery or DC adapter.
Tools:
- Multimeter (for testing connections).
- Wire cutters and strippers.
- Soldering iron (optional, for permanent assembly).
Understanding the Basics of Sound Synthesis
Before diving into the build, let’s demystify how synthesizers create sound:
- Oscillators: These are the engines of a synthesizer, generating waveforms (sine, square, or triangle waves) that form the basis of sound.
- Filters: Modify the waveform by removing certain frequencies, shaping the timbre.
- Envelopes: Control the sound’s attack, sustain, and decay—how it behaves over time.
- Amplifiers: Boost the signal so you can hear it through speakers or headphones.
In this project, we’ll focus on a simple oscillator-based synthesizer, leaving room for you to expand later with filters and envelopes.
Step-by-Step Guide: Building a Simple Synthesizer
Step 1: Set Up Your Workspace
Find a clean, well-lit space to work. Lay out all your components, tools, and a printed schematic if your kit includes one.
Pro Tip: Use a breadboard for the initial build—it’s easier to troubleshoot and modify circuits without soldering.
Step 2: Build the Oscillator Circuit
The 555 timer IC will act as your oscillator, generating sound by producing a square wave.
How to Wire It:
- Place the 555 timer IC on the breadboard.
- Connect pin 1 to ground and pin 8 to the positive power supply.
- Use resistors and capacitors to connect pins 6 and 7, which set the frequency of the oscillation.
- Add a potentiometer between pins 6 and 7 for pitch control.
- Connect pin 3 (the output) to a small speaker or headphone jack.
Testing:
When powered on, you should hear a steady tone. Adjust the potentiometer to change the pitch. If you don’t hear anything, double-check your connections—especially the polarity of the power supply.
Step 3: Add Volume Control
Insert another potentiometer between the oscillator output (pin 3) and the speaker. This lets you control the amplitude (volume) of the sound.
Anecdote: My first synthesizer didn’t have volume control, and the constant loud buzz drove my roommate crazy. Adding this simple feature was a game-changer!
Step 4: Experiment with Waveforms
The basic oscillator produces a square wave, but you can modify the circuit to create other waveforms. For example:
- Triangle Waves: Use a capacitor in a specific configuration to smooth the square wave.
- Sawtooth Waves: Modify the charging and discharging pattern of the capacitor.
Each waveform produces a different tonal quality, giving you more creative possibilities.
Step 5: Expand with Multiple Oscillators
To make your synthesizer more versatile, add a second or third oscillator. Use a mixer circuit to combine their outputs, creating richer and more complex sounds.
Tip: Tune one oscillator slightly higher or lower than the other to create a beating or warbling effect, commonly used in electronic music.
Step 6: Enclosure and Finishing Touches
Once your circuit is working, transfer it to a project box for durability and portability. Drill holes for the potentiometers, power switch, and audio jack. Label the controls for a professional look.
Taking Your Synthesizer to the Next Level
Once you’ve built a basic synthesizer, the possibilities for expansion are endless:
- Add Filters: Use capacitors and resistors to create low-pass or high-pass filters, shaping the sound further.
- Include an Envelope Generator: Control how the sound fades in and out.
- Incorporate MIDI Control: Interface your synthesizer with a keyboard or computer for even more creative freedom.
Why DIY Synthesizers Are So Rewarding
Building a synthesizer combines art and science. You’re not just assembling components—you’re creating an instrument that reflects your personality and creativity. Each twist of a knob or press of a key produces a sound that’s uniquely yours.
When I completed my first DIY synth, I spent hours tweaking the knobs and discovering the different sounds it could make. The sense of pride and wonder was unlike anything I’d felt before.
Practical Tips for Success
- Start Simple: Begin with a basic oscillator and expand as you gain confidence.
- Document Your Build: Take photos and notes to help you troubleshoot or recreate your design later.
- Experiment Freely: Don’t be afraid to tweak the circuit and see what happens—that’s how you learn!
- Join a Community: Online forums and local maker groups are fantastic resources for advice, troubleshooting, and inspiration.
Final Thoughts
Creating music with a DIY synthesizer is an incredibly fulfilling journey. It’s a blend of creativity, problem-solving, and hands-on tinkering that results in something truly personal. Whether you’re jamming in your bedroom or building a custom setup for your band, the skills and knowledge you gain will stay with you forever.
So grab your tools, start building, and let your creativity sing!
Happy synthesizing!


Post Comment