Creating Light and Sound Effects: Cool Projects with LEDs and Buzzers
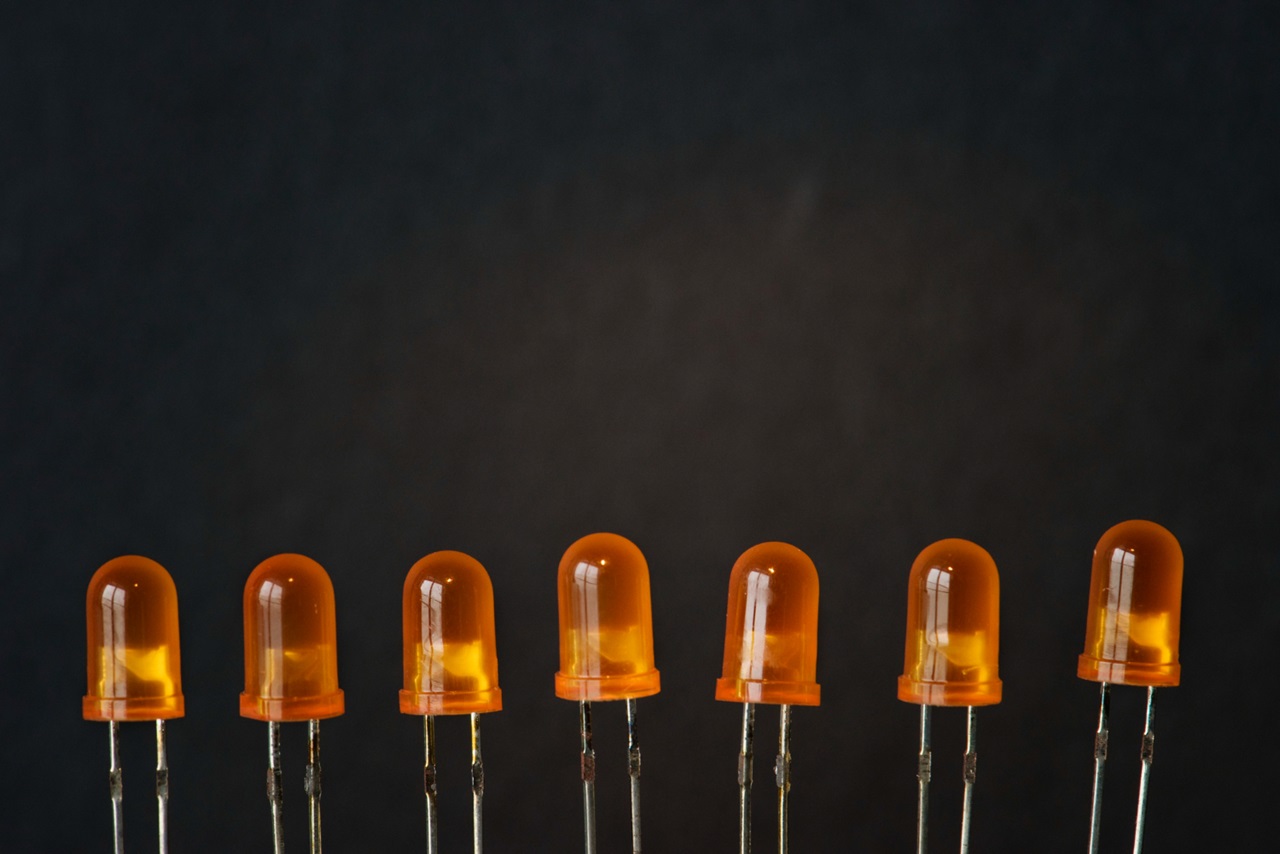
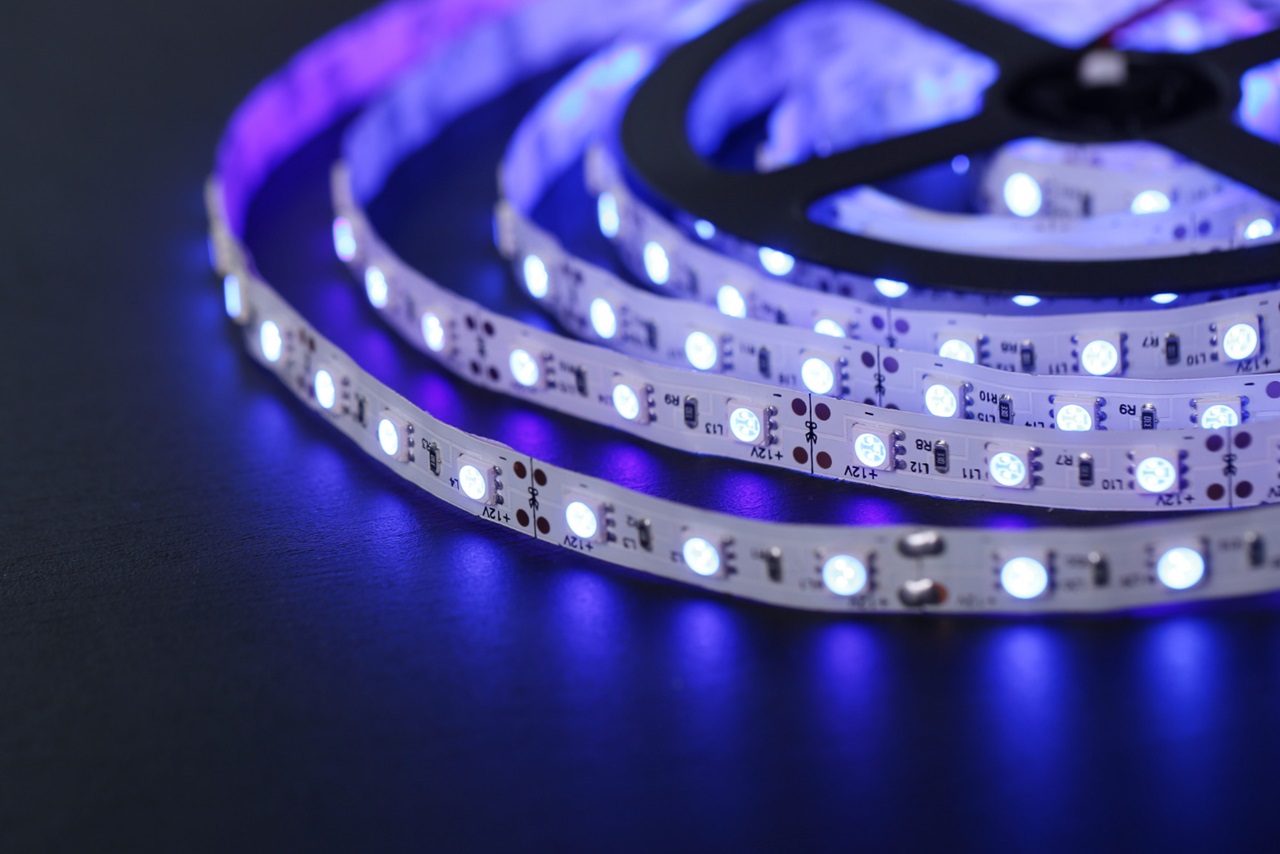
There’s something undeniably fun about the combination of lights and sound. Whether it’s a blinking LED display or a buzzer creating catchy tunes, these elements add life and personality to any project. For DIY enthusiasts, LEDs and buzzers are like the paint and brush of electronics, letting you bring creative ideas to life.
In this blog post, we’ll explore some cool projects that blend light and sound effects, perfect for beginners and intermediate tinkerers. With easy-to-follow instructions and a bit of imagination, you’ll be creating your own light-and-sound spectacles in no time.
Why LEDs and Buzzers?
LEDs and buzzers are affordable, easy to use, and endlessly versatile. They’re great for teaching core electronics concepts while also being practical components for creative projects. From fun decorations to functional alarms, these little tools pack a big punch.
When I first started tinkering, an LED and a buzzer were the stars of my projects. One of my favorites was a simple “door alarm” that buzzed when someone entered my room and flashed a red warning light. It was basic, but it worked—and it sparked my love for electronics.
Cool Projects with LEDs and Buzzers
1. Sound-Activated Light Show
What It Does: Lights up LEDs based on sound intensity, creating a mini light show in sync with music or clapping.
What You’ll Need:
- Microphone module (or sound sensor)
- LEDs (different colors for extra flair)
- Resistors (to limit current)
- Arduino or other microcontroller
- Breadboard and jumper wires
How It Works:
- Connect the microphone module to the microcontroller to detect sound levels.
- Program the microcontroller to light up LEDs when the sound intensity crosses a certain threshold.
- Adjust the sensitivity in the code for a more dynamic response.
Pro Tip: Arrange LEDs in a pattern or sequence (e.g., a circle or bar graph) for a more visually appealing effect.
Real-Life Example: I used this setup for a family party, syncing the lights with music. The kids loved clapping to make the lights flash, and it became the evening’s highlight!
2. Melody Maker with Buzzers
What It Does: Plays simple tunes using a passive buzzer, with LEDs lighting up in sync to add visual flair.
What You’ll Need:
- Passive buzzer (capable of generating different frequencies)
- LEDs (one for each note)
- Resistors
- Arduino or other microcontroller
How It Works:
- Connect the buzzer to the microcontroller and write a program to generate different frequencies for each musical note.
- Sync the LEDs with the notes by lighting them up when a specific tone is played.
- Try simple songs like “Twinkle, Twinkle, Little Star” or compose your own tune!
Pro Tip: Use a piezo buzzer for clearer tones, and experiment with varying the duration of notes for a more musical effect.
Personal Anecdote: My first melody maker project was a birthday gift for my niece. I programmed it to play “Happy Birthday,” and she was thrilled. She even insisted we play it instead of singing!
3. Morse Code Flasher
What It Does: Converts text into Morse code, flashing LEDs and beeping buzzers to represent dots and dashes.
What You’ll Need:
- LEDs (preferably bright ones)
- Active buzzer (simpler to use than a passive buzzer)
- Resistors
- Arduino or other microcontroller
How It Works:
- Write a program to take an input string and translate it into Morse code.
- Flash the LEDs for each dot and dash, with the buzzer beeping in sync.
- Add a pause between letters and words for clarity.
Practical Use: Great for learning Morse code or creating a fun secret message system with friends!
Anecdote: I built this project as a fun way to teach my younger cousin Morse code. We ended up using it to send “secret” messages during a family camping trip. It was surprisingly entertaining!
4. Reaction Timer Game
What It Does: Challenges players to press a button as quickly as possible after an LED lights up or a buzzer sounds.
What You’ll Need:
- LEDs (one or more)
- Active buzzer
- Push button
- Microcontroller
- Breadboard and jumper wires
How It Works:
- Randomly light up an LED or sound the buzzer after a delay.
- Use a push button as the input for the player to react.
- Measure the time between the signal and the button press, and display the result (optional).
Pro Tip: Add multiple LEDs and buzzers for variety, or program different difficulty levels to make the game more challenging.
Real-Life Example: I brought this project to a game night with friends. It became a competitive hit, with everyone trying to beat each other’s reaction times!
5. Light and Sound Alarm System
What It Does: Combines a motion sensor with LEDs and buzzers to create a basic security alarm.
What You’ll Need:
- PIR motion sensor
- LEDs (red for warning lights)
- Active buzzer
- Microcontroller
- Resistors and jumper wires
How It Works:
- Connect the PIR motion sensor to detect movement.
- When movement is detected, trigger the buzzer and flash the LEDs in a pattern.
- Add an option to reset or disable the alarm using a push button.
Practical Use: Use it as a DIY home security system or a fun prank setup for your room.
Personal Anecdote: I built this alarm for my desk at work after a coworker kept “borrowing” my snacks. It was hilarious to see their reaction when the buzzer went off—and yes, they stopped raiding my desk!
Tips for Success
- Start Simple: If you’re new to electronics, begin with basic circuits like blinking an LED or sounding a buzzer. Build up to more complex projects as you gain confidence.
- Experiment Freely: Don’t be afraid to tweak your projects. Change LED colors, try different buzzer tones, or add extra features.
- Learn from Mistakes: If something doesn’t work, double-check your connections, components, and code. Troubleshooting is part of the learning process.
- Use Online Resources: Forums, YouTube tutorials, and community blogs are excellent for finding inspiration and solving problems.
- Stay Organized: Keep your components sorted and labeled to make project assembly faster and less stressful.
Final Thoughts
LEDs and buzzers might be small components, but they open up a world of creative possibilities. From sound-activated light shows to practical alarm systems, these projects are perfect for experimenting, learning, and having fun.
Whether you’re a beginner exploring electronics for the first time or an experienced tinkerer looking for inspiration, these light-and-sound projects are sure to spark your creativity. So grab your tools, start building, and let your imagination shine—literally and figuratively!
Happy tinkering!


Post Comment