How to Solder Like a Pro: Tips and Tricks for Beginners
Soldering is like the glue that holds the world of electronics together—literally. Whether you’re building a circuit from scratch, repairing a loose connection, or diving into creative DIY projects, mastering soldering is an essential skill. But let’s be honest: for beginners, soldering can feel intimidating. From the hot iron to the delicate components, it’s easy to worry about making mistakes.
Here’s the good news: soldering isn’t as hard as it seems. With the right tools, a bit of practice, and some tried-and-true tips, you’ll soon be soldering like a pro. In this guide, we’ll walk through the basics, share practical advice, and even toss in a few personal anecdotes to make the journey relatable and fun.
What is Soldering?
At its core, soldering is the process of joining two or more components together using a metal alloy called solder. The solder is melted with a hot iron and, as it cools, forms a strong electrical and mechanical connection.
Think of soldering as a combination of science and art. You’re working with heat, metal, and precision, but there’s also a creative satisfaction in seeing a clean, shiny joint come together.
The Essential Tools for Soldering
Before diving into the techniques, let’s make sure you have the right tools in your kit:
- Soldering Iron: Choose one with an adjustable temperature. For beginners, a 25-40W iron works well.
- Solder: Use lead-free solder for safety. A solder with a rosin core makes it easier to create clean joints.
- Soldering Iron Stand and Sponge: The stand keeps your hot iron safe, while the damp sponge helps clean the tip.
- Desoldering Tool: Mistakes happen. A desoldering pump or braid helps you remove excess solder.
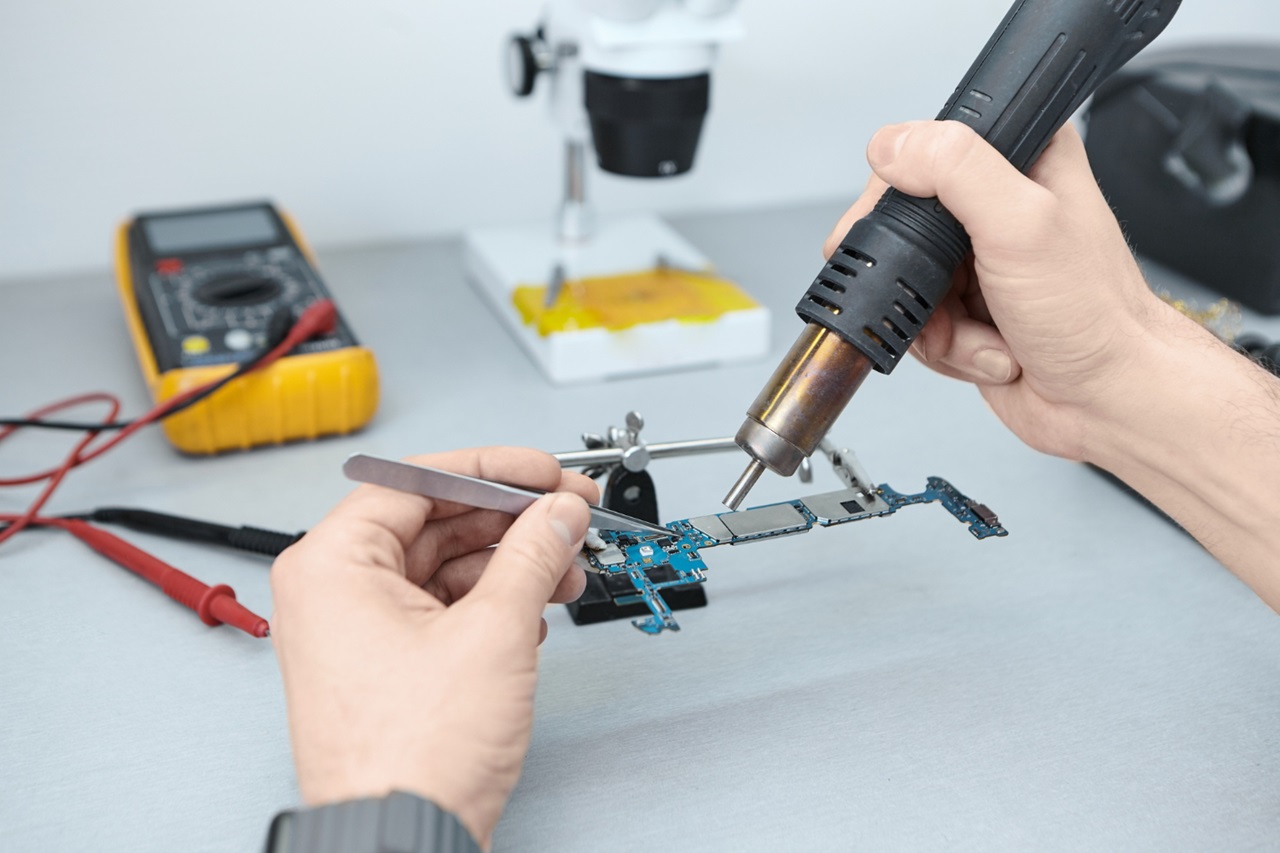
- Helping Hands or a PCB Holder: These tools keep your work steady, especially when dealing with tiny components.
- Safety Gear: Use safety glasses and work in a well-ventilated area to avoid fumes.
Pro Tip: Invest in a quality soldering iron—it makes a world of difference in temperature control and ease of use. My first cheap iron constantly overheated, leading to frustration and some burnt fingers!
Step-by-Step: How to Solder Like a Pro
1. Prep Your Workspace
Set up a clean, well-lit area with plenty of space to work. Organize your tools so everything is within reach. Safety first—ventilation is crucial to avoid inhaling fumes.
Personal Note: I once tried soldering on a cluttered desk, and a loose wire ended up rolling under my soldering iron. Lesson learned—keep your workspace tidy!
2. Clean the Components and Tip
Before soldering, ensure the components and the soldering iron tip are clean. Oxidation can prevent the solder from adhering properly. Use a damp sponge to clean the tip and isopropyl alcohol for components.
Pro Tip: Always tin the tip of your soldering iron before starting. This means coating it with a small amount of solder to improve heat transfer.
3. Heat the Joint, Not the Solder
Place the soldering iron tip against both components you want to join. The idea is to heat the joint first, not the solder. Once the joint is hot enough, touch the solder to it—it should melt and flow smoothly.
Why It Matters: Directly heating the solder instead of the joint can result in weak connections that break easily.
4. Use the Right Amount of Solder
A good solder joint is shiny, smooth, and just enough to cover the connection. Too much solder can create a blob, while too little might not hold.
Practice Makes Perfect: Start with a few practice joints on a scrap piece of wire or PCB before working on your actual project.
5. Avoid Cold Joints
A cold joint occurs when the solder doesn’t flow properly, leaving a dull, brittle connection. These can result
in poor conductivity and may cause your circuit to fail. To avoid this, make sure the joint is heated adequately before applying the solder.
Personal Anecdote: During one of my first projects, I didn’t heat the joint properly, and my LED circuit kept flickering. It wasn’t until I revisited each joint with proper heating that everything worked flawlessly.
6. Keep the Iron Clean
Oxidation builds up on the tip of your soldering iron over time, reducing its efficiency. Clean the tip regularly with a damp sponge or brass wire cleaner. A dirty tip not only makes soldering harder but also leads to messy joints.
Pro Tip: After cleaning, re-tin the tip by applying a small amount of solder to keep it in good condition.
7. Practice Proper Soldering Technique
- Hold the soldering iron like a pen, keeping your hand steady.
- Use the helping hands or a PCB holder to keep the components stable.
- Don’t leave the iron on the joint for too long—5-7 seconds is usually enough.
Safety Reminder: Always unplug the soldering iron when not in use, and let it cool before storing.
Common Soldering Mistakes (and How to Fix Them)
- Too Much Solder: If you’ve created a blob, use a desoldering pump to remove the excess.
- Cold Joints: Reheat the joint and apply solder properly.
- Burned Components: Use a lower temperature and avoid lingering on the component for too long.
- Bridging Connections: This happens when solder connects two unintended points. Use desoldering braid to remove the bridge and start over.
Projects to Practice Your Skills
Once you’ve got the basics down, try these beginner-friendly projects to hone your skills:
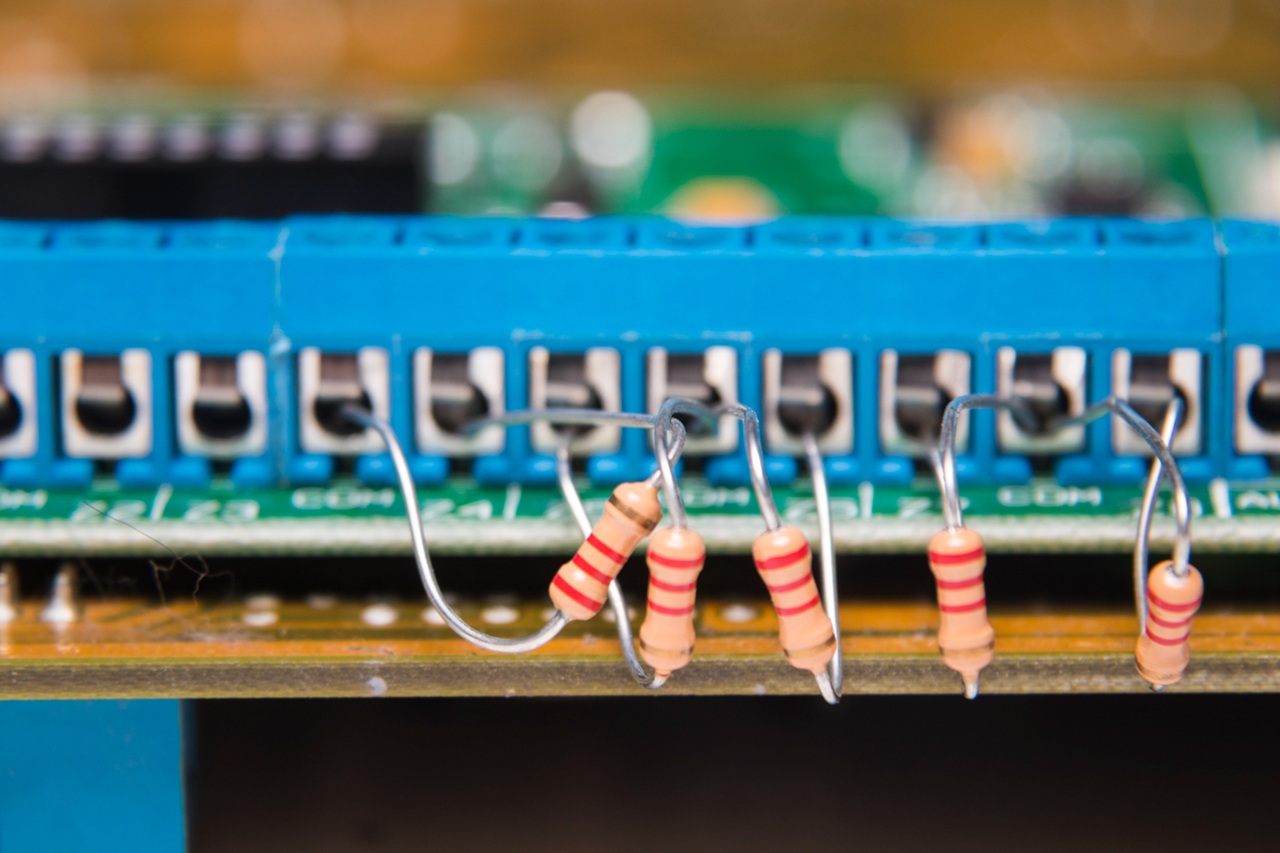
- LED Circuit: Solder a simple LED with a resistor to a battery holder.
- Audio Amplifier Kit: Assemble a small amplifier to boost audio from your phone or computer.
- DIY Clock Kit: Build a digital clock to challenge your precision and patience.
Each project builds confidence and introduces new techniques.
Advanced Tips for Leveling Up
- Upgrade Your Tools: As you improve, consider investing in a temperature-controlled soldering station for better precision.
- Learn Surface Mount Soldering: This advanced skill allows you to work with smaller components used in modern electronics.
- Experiment with Different Solders: Lead-free, silver-bearing, and flux-core solders each have unique properties—explore which works best for your needs.
Why Soldering Is a Worthwhile Skill
Soldering isn’t just about joining wires or components—it’s about creating, fixing, and innovating. From repairing a broken headphone jack to building your own gadgets, soldering empowers you to bring ideas to life.
When I first learned to solder, I was amazed at how quickly I could go from an idea to a working project. That sense of accomplishment keeps me coming back to the workbench, eager to learn more and tackle new challenges.
Final Thoughts
Soldering might seem daunting at first, but with patience and practice, you’ll soon find yourself creating reliable, professional-looking connections. Start small, embrace mistakes, and celebrate your progress. Each joint you make is a step toward mastering this invaluable skill.
So, grab your soldering iron, roll up your sleeves, and start experimenting. Before you know it, you’ll be soldering like a pro—and maybe even teaching others how to do it too!
Happy soldering!


Post Comment